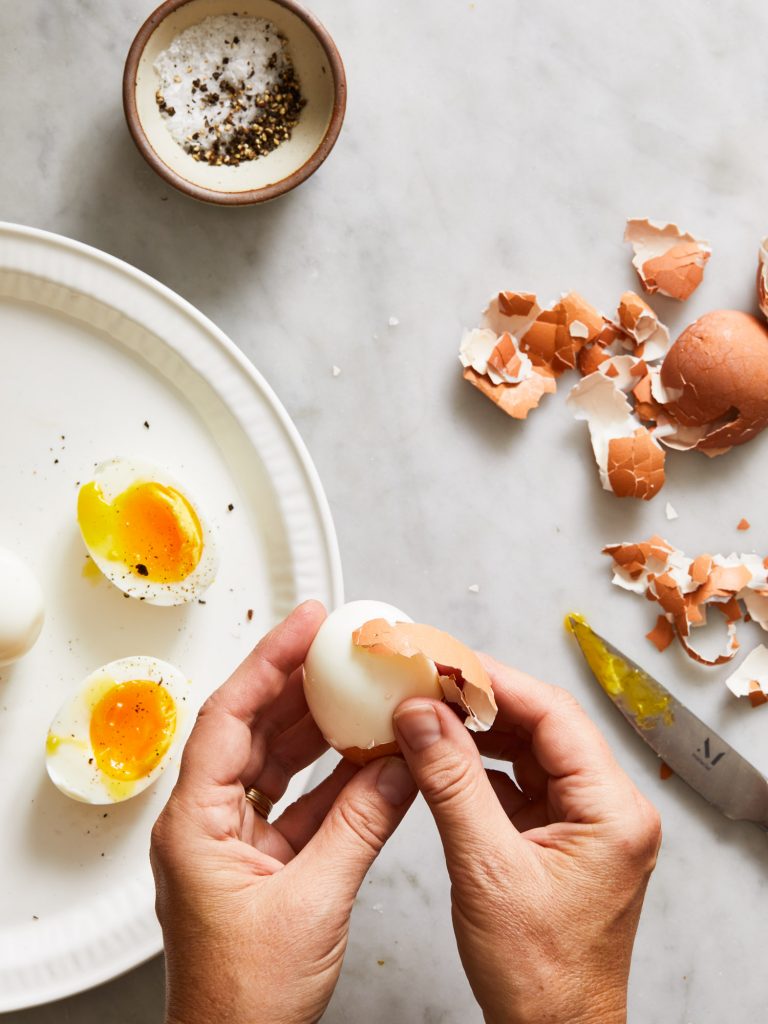
I’d argue that the only phrase that makes more appearances than ‘I could eat this every night’ across all DALS platforms is most likely top with an egg. Especially during these last few years of Weekday Vegetarianism, when often the addition of an egg is just the magic-wand-ish protein we are looking for to transform a dish into capital D-Dinner. So, at long last, for all your future #PutAnEggOnIt needs, my three most favorite ways to prepare them: 7-minute (aka “jammy”), hard-boiled, and sunny-side up….
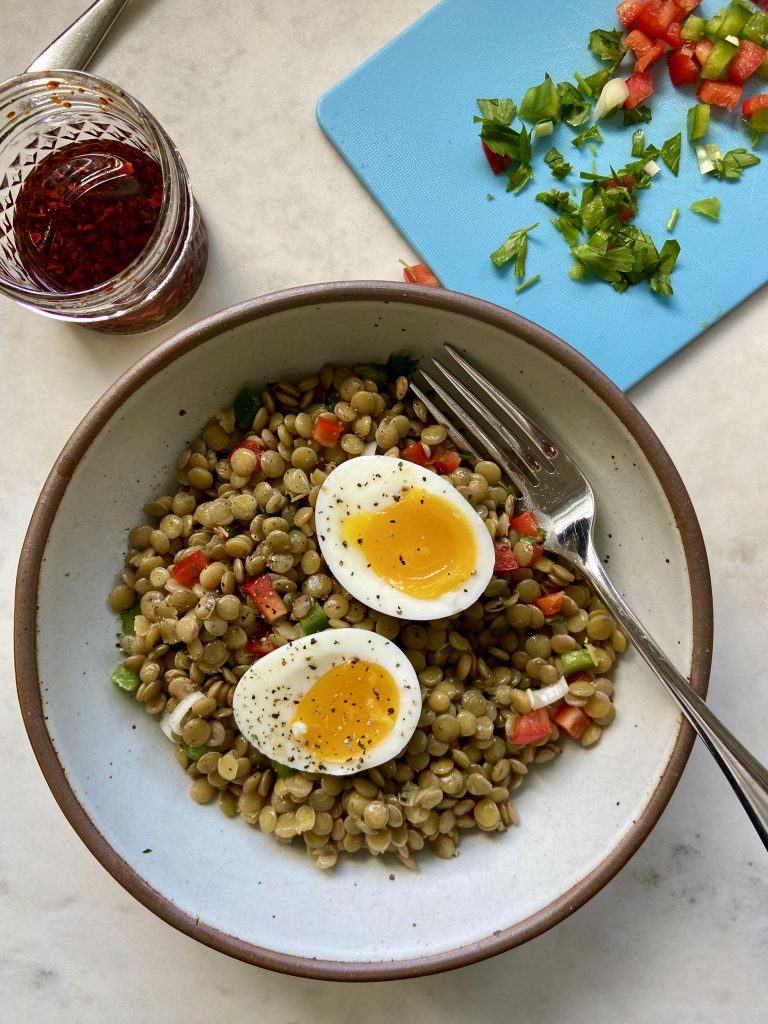
7-Minute
Once I mastered this method, the 7-minute quickly became my leaderboard egg for salads, rice bowls, and lentil bowls. (Technique is also in The Weekday Vegetarians.)
4 large eggs
Bring a medium pot of water to a boil. Using a slotted spoon, carefully lower the eggs into the water, turning the heat down slightly so the boil is controlled and not aggressive. Set your timer for 7 minutes, not a second more or less.
While the eggs are simmering, prepare an ice bath by filling a bowl large enough to fit your eggs with ice and water. When your timer goes off, immediately transfer the eggs into the ice bath. Remove after a minute or two (I don’t love freezing-cold eggs) and peel gently.
Recipe shown: Rosa’s Warm Lentil Salad

Hard-Boiled
This is the technique voted Most Likely to Be Made in Large Batches. I often hard-boil 6 to 8 at a time, then dip into them over the next week for an on-the-go breakfast, or a quick lunch (with salad or veg) or snack. Have you ever tried a drop or two of Teriyaki sauce on a hard boiled egg? My friend Olivia taught me that and it’s sick.
4 eggs
Add eggs to a medium pot of water set over high heat. Bring to a boil, then immediately remove the pot from the heat, cover, and set timer for 10 minutes.
After 10 minutes, remove the eggs to a bowl of cold water to stop the cooking. Alternately you could strain and run under cold water for 30 seconds to cool down.
Recipe shown: Rice Bowl with Egg, Smoked Fish, Quick Pickles and Dill. (Photo by Chelsea Kyle.)
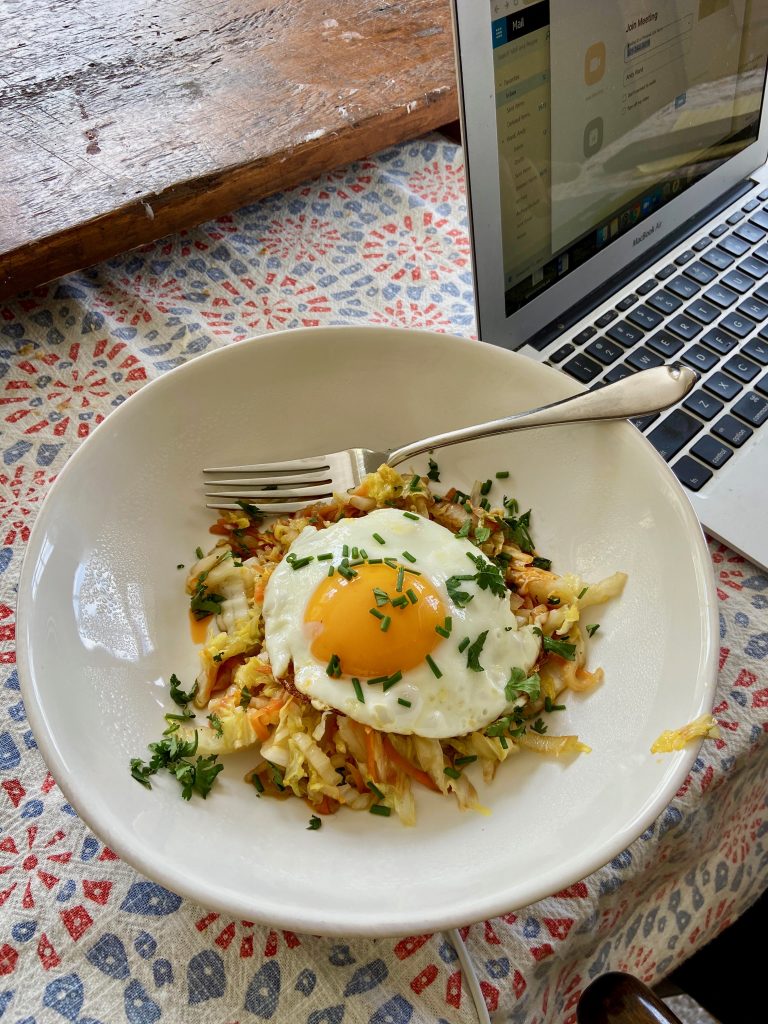
Sunny-Side Up
I don’t make my eggs this way as often as hard-boiled or 7-minute, which might explain why it was only recently that I nailed a technique for them that reliably yielded tender whites and runny-but-not-too-runny yolks. (I should note here that this is the way I prefer my sunny-side up: delicate; If you like the olive-oil crispy fried kind I’m not your lady.) Well, I finally learned a thing or two beginning with two key points: 1) Make sure you are using a nonstick or a very well-seasoned cast iron skillet and 2) go low and slow with the heat to ensure even cooking throughout. This recipe is written for one, but obviously can be doubled and tripled and quadrupled as needed (though you won’t need more than 2 tablespoons of fat for up to 4 eggs) as long as your skillet is big enough. Just try not to crowd the pan.
1 tablespoon butter or canola oil (I prefer butter)
1 egg
Add butter (or oil) to a nonstick skillet set over medium heat. Crack the egg into a small bowl then, once the butter has melted and foamed a little, gently slide the egg into the pan and immediately decrease the heat to medium-low. Use a spatula or a spoon to shape and contain the egg white in a nice circle (and separate from other eggs if making more than one.) From this point, you want to cook your egg 3 minutes, making little dashes in the whites with your spatula in the first minute or so to help the top part cook. Once the whites are mostly set, cover the pan for 30 seconds. Using a spatula, gently remove egg from pan.
Recipe shown: “Egg Roll in a Bowl“
To get my recipes (and podcasts and reading recs and way way more) delivered right to your inbox, subscribe to my newsletter.
Opening photo by Christine Han.



For the boiled eggs, do you start with them room temp or straight from the fridge? I feel like whenever I follow jammy egg recipes my whites come out slightly runny and I wonder if it’s because they’re cold to start? My next theory is that the elevation affects blood temp and therefore time?
*boiling temp!
I usually do it straight from the fridge and it’s fine.
These are useful instructions but are we really sure about using the word “sick” as a positive description for foodstuffs?!
haha, maybe I should’ve spelled it sickkkkkkkkkkk the way my daughters do 🙂