Roast Chicken with Carrots and Pan Juices
[Updated 2025] Couple common chicken-roasting steps I’ve decided to skip over the years in the interest of streamlining: 1) I don’t rinse my bird. Excess water creates steam, which prevents the skin from getting crispy. I still pat the chicken very dry (inside and out) with a paper towel. 2) I don’t flip my bird mid-roast or adjust the heat. My friend and recipe developer Victoria Granof told me neither was necessary if you’re not blasting it on high heat and her advice has never let me down. 3) Lastly, I no longer serve my chickens with gravy. I find it’s just one more step, one more pot, one more whisk, and the simple carrot-and-onion-flavored pan juices are every bit as satisfying. One thing I don’t skip? Trussing. It makes the bird easier to handle and ensures a more even roast. Everybody does it differently but here are two common ways.
7 medium carrots, cut into large-ish chunks as shown
1 yellow onion, chopped roughly
2 tablespoons olive oil
Kosher salt and freshly ground black pepper
1 whole roasting chicken, between 3-4 pounds (make sure to check for the little packet of giblets inside cavity and remove if it’s there), at room temperature, patted very dry with a paper towel (outside and inside the cavity)
2 tablespoons butter, melted
1/2 small lemon
12-15 sprigs fresh thyme
Heat oven to 425°F. Arrange carrots and onions in a roasting pan, toss with olive oil and and season with salt and pepper. (The vegetables will act as a rack for the chicken and flavor the chicken juices that drip through them.)
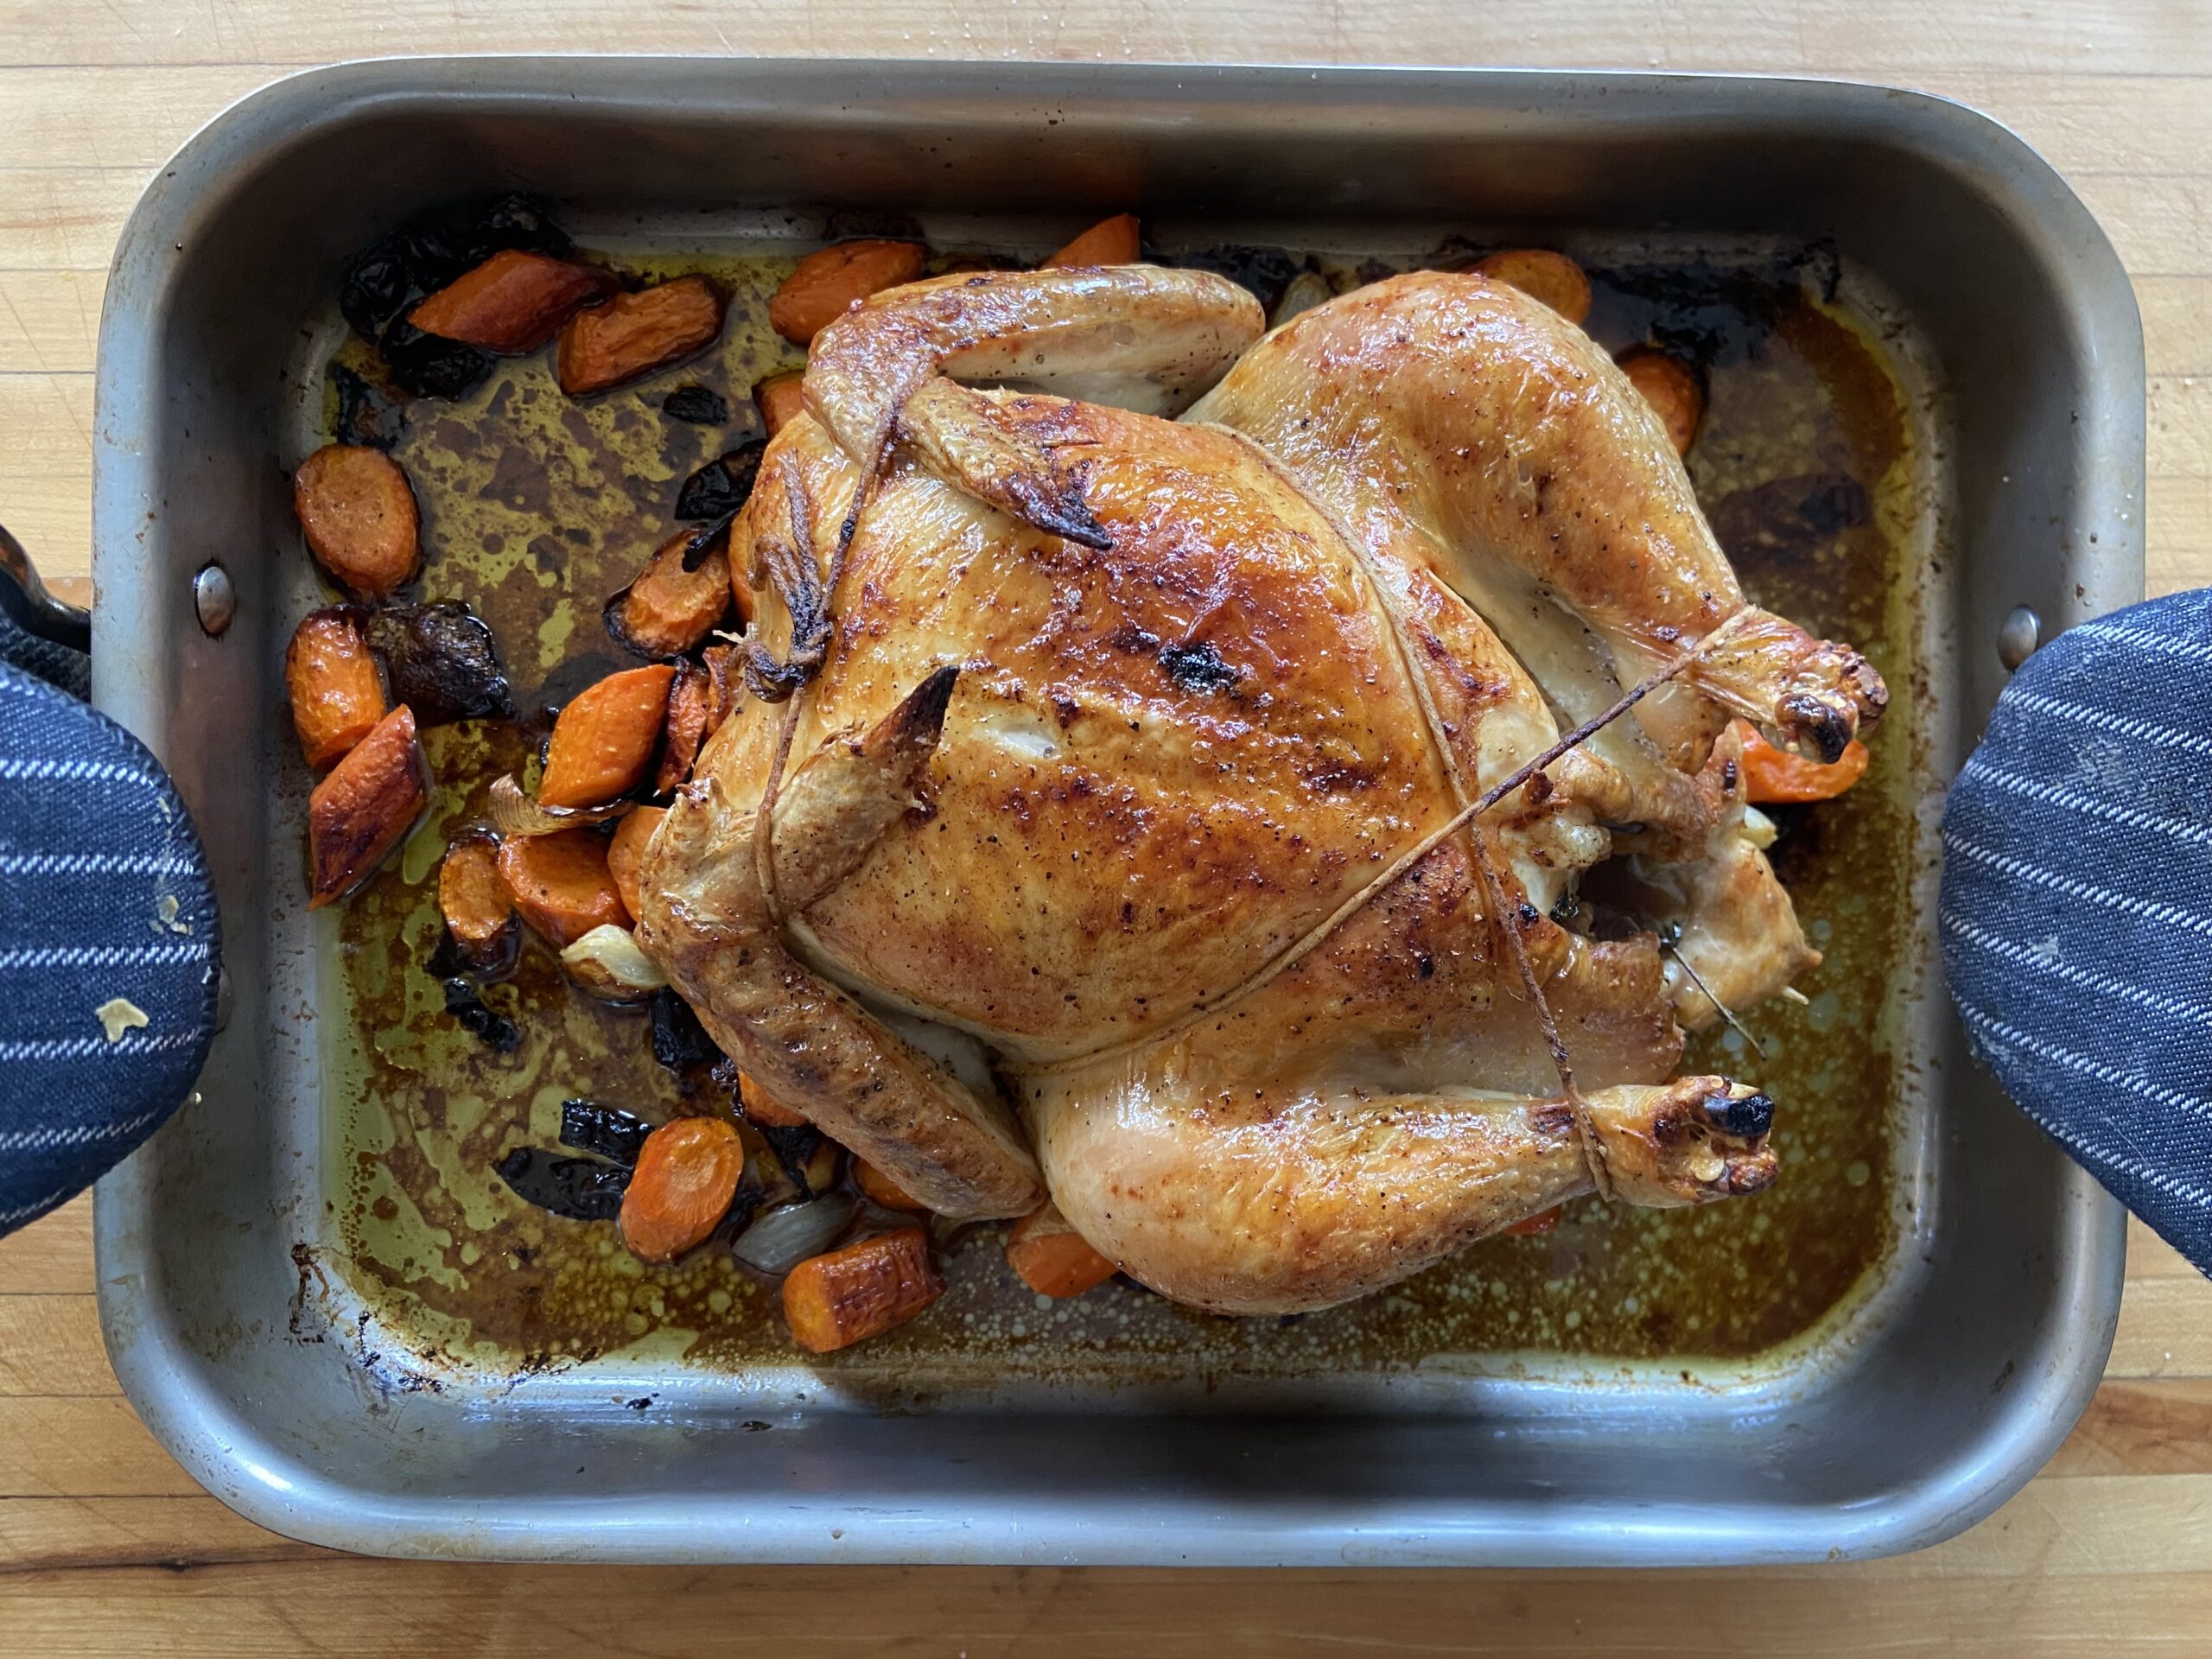
Place the chicken on a cutting board, stuff its cavity with the lemon and thyme sprigs, and truss it. Place the chicken breast-side up on top of the carrot-onion bed. Using a basting brush, brush the chicken’s skin all over with the melted butter, and season with salt and pepper.
Place the roasting pan in the middle rack of your oven. (The general roasting rule I use is 18 minutes per pound, and I literally break out the calculator and multiply by the exact decimal point.) You know your chicken is done when the skin is golden and the juices run clear (not pink or red) when the thickest part of the thigh is pierced with a sharp knife.
Remove the roasting pan from the oven and set near your carving board. Before removing the chicken from the pan, and using oven mitts, tip the hot chicken to let the juices from the bird’s cavity run into the pan. (If the juices are red, put the chicken back in the oven.) Remove the chicken to the carving board using your oven mitts. Untie the trussed legs, and let it sit for 5 to 10 minutes to cool. While it’s resting, place a strainer over a large measuring cup or mixing bowl (I do this in the sink) and pour the roasted vegetables and pan juices through the strainer…
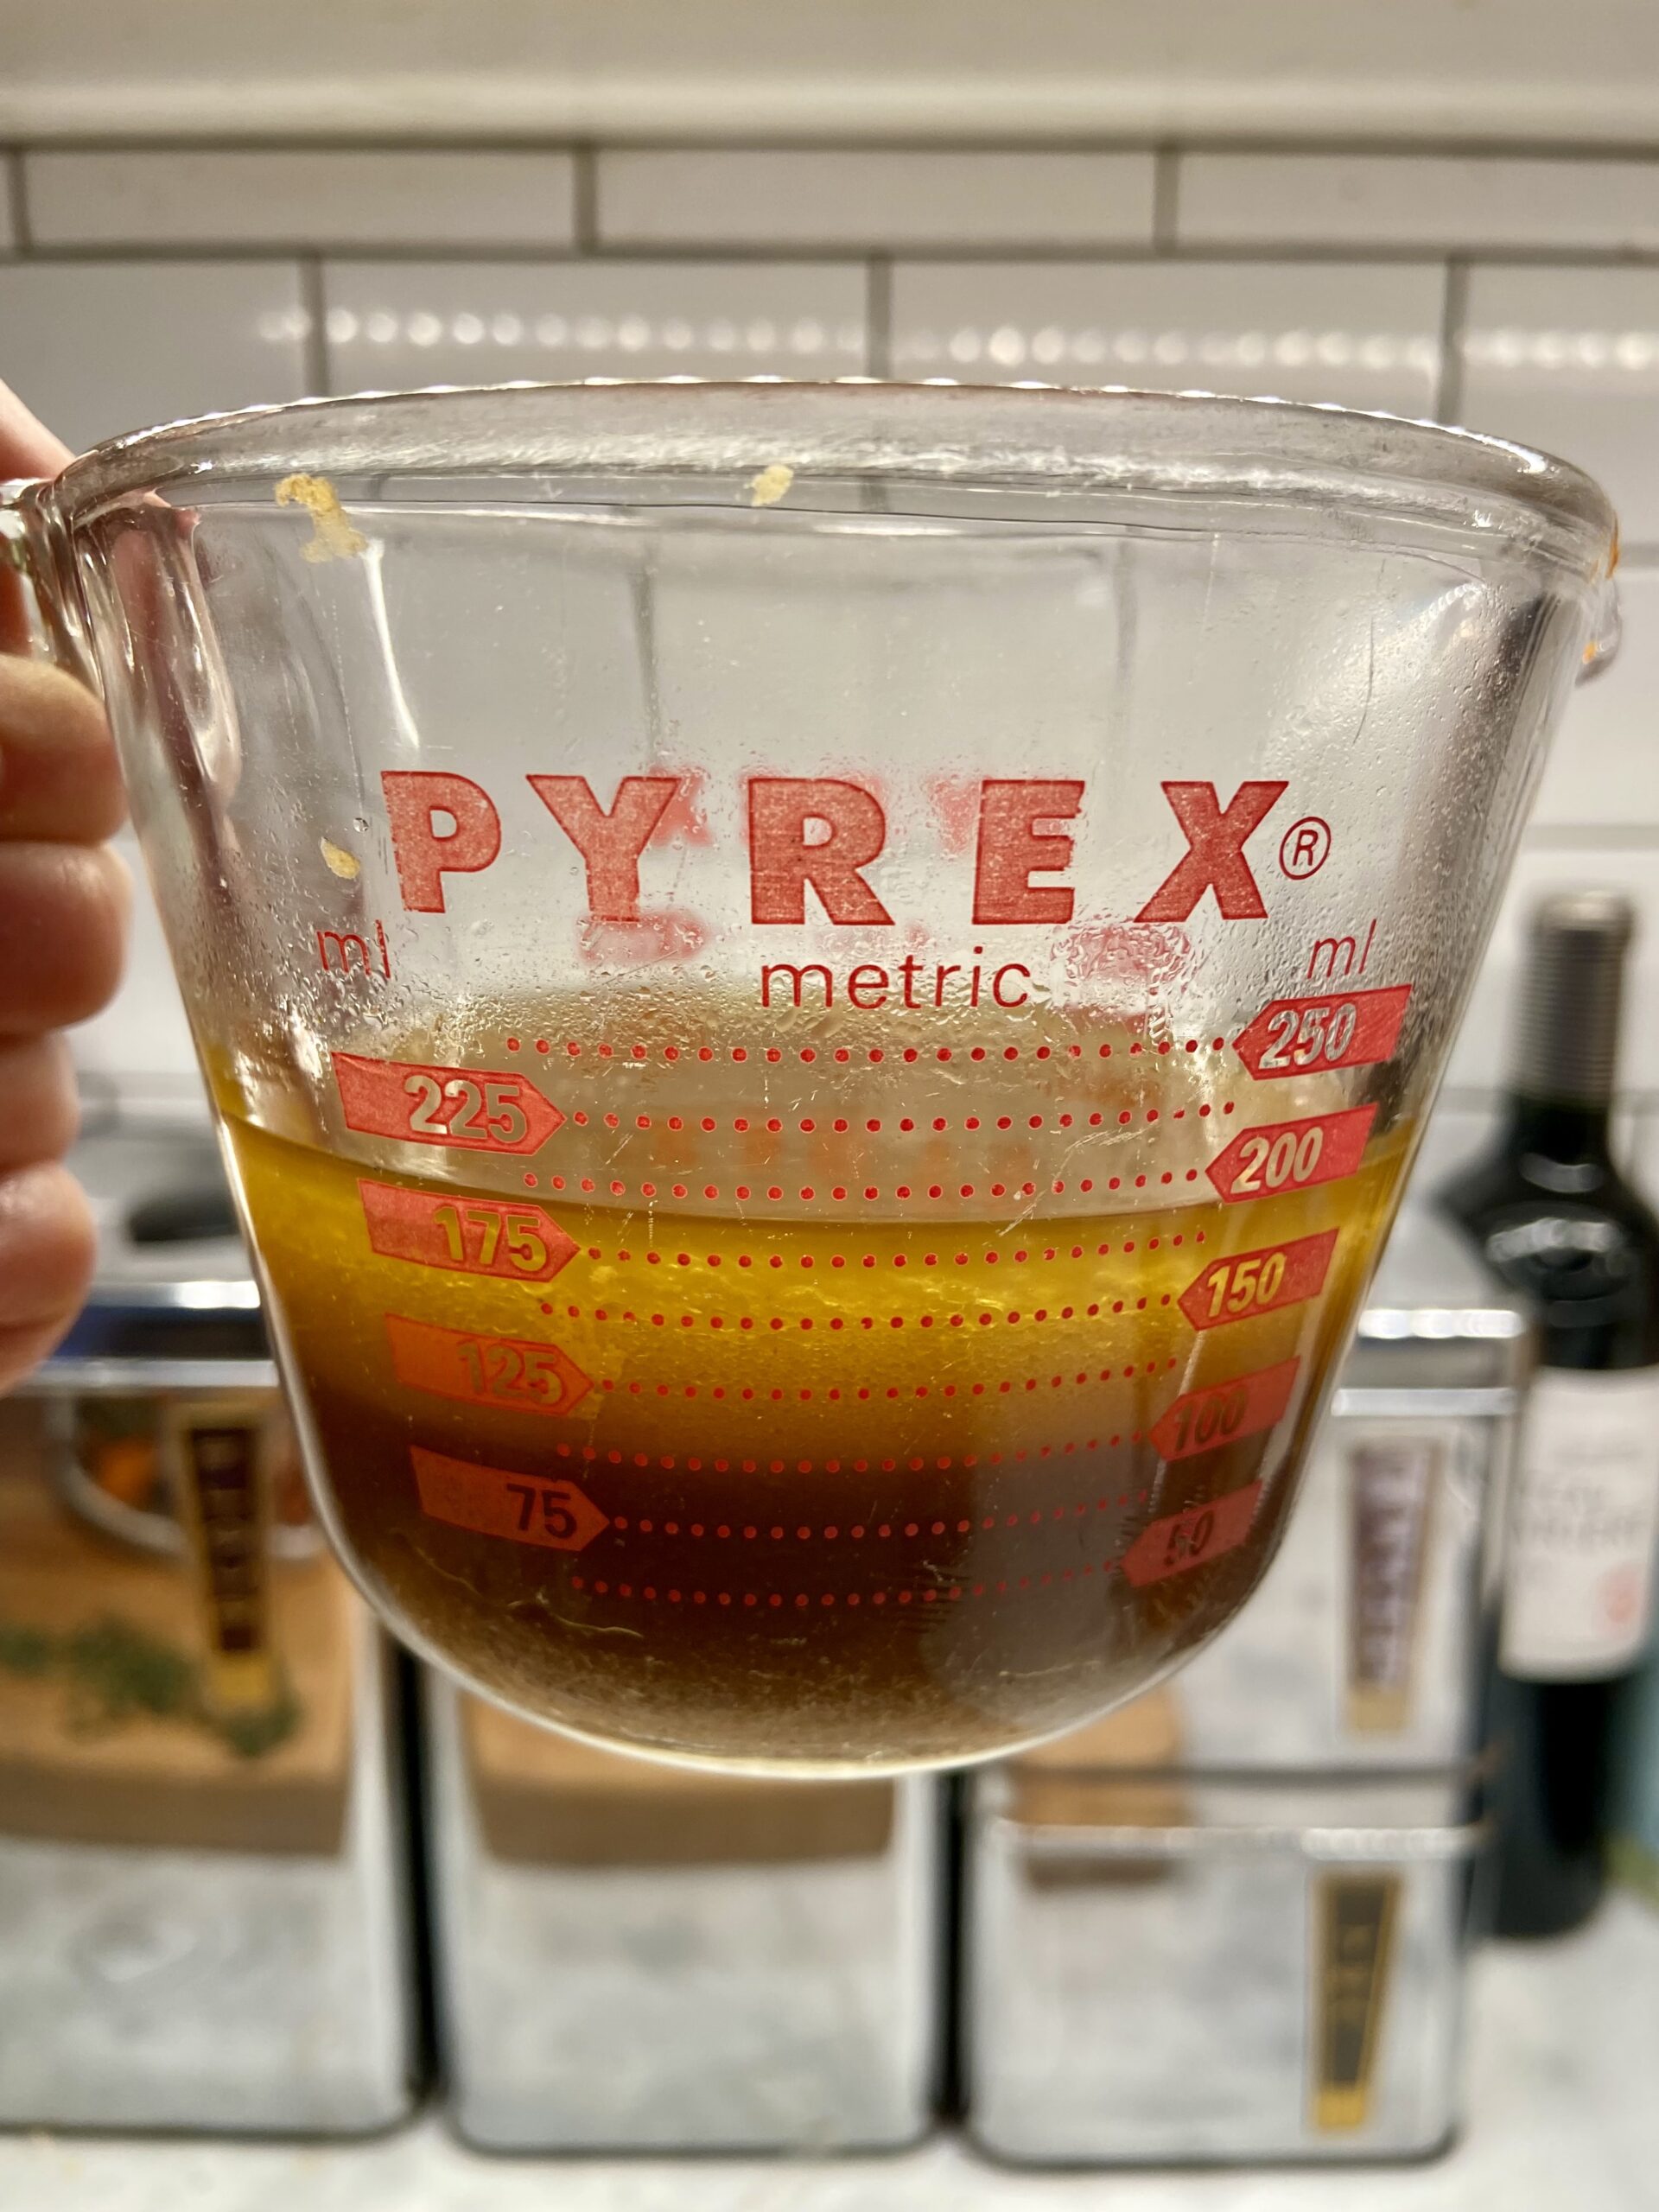
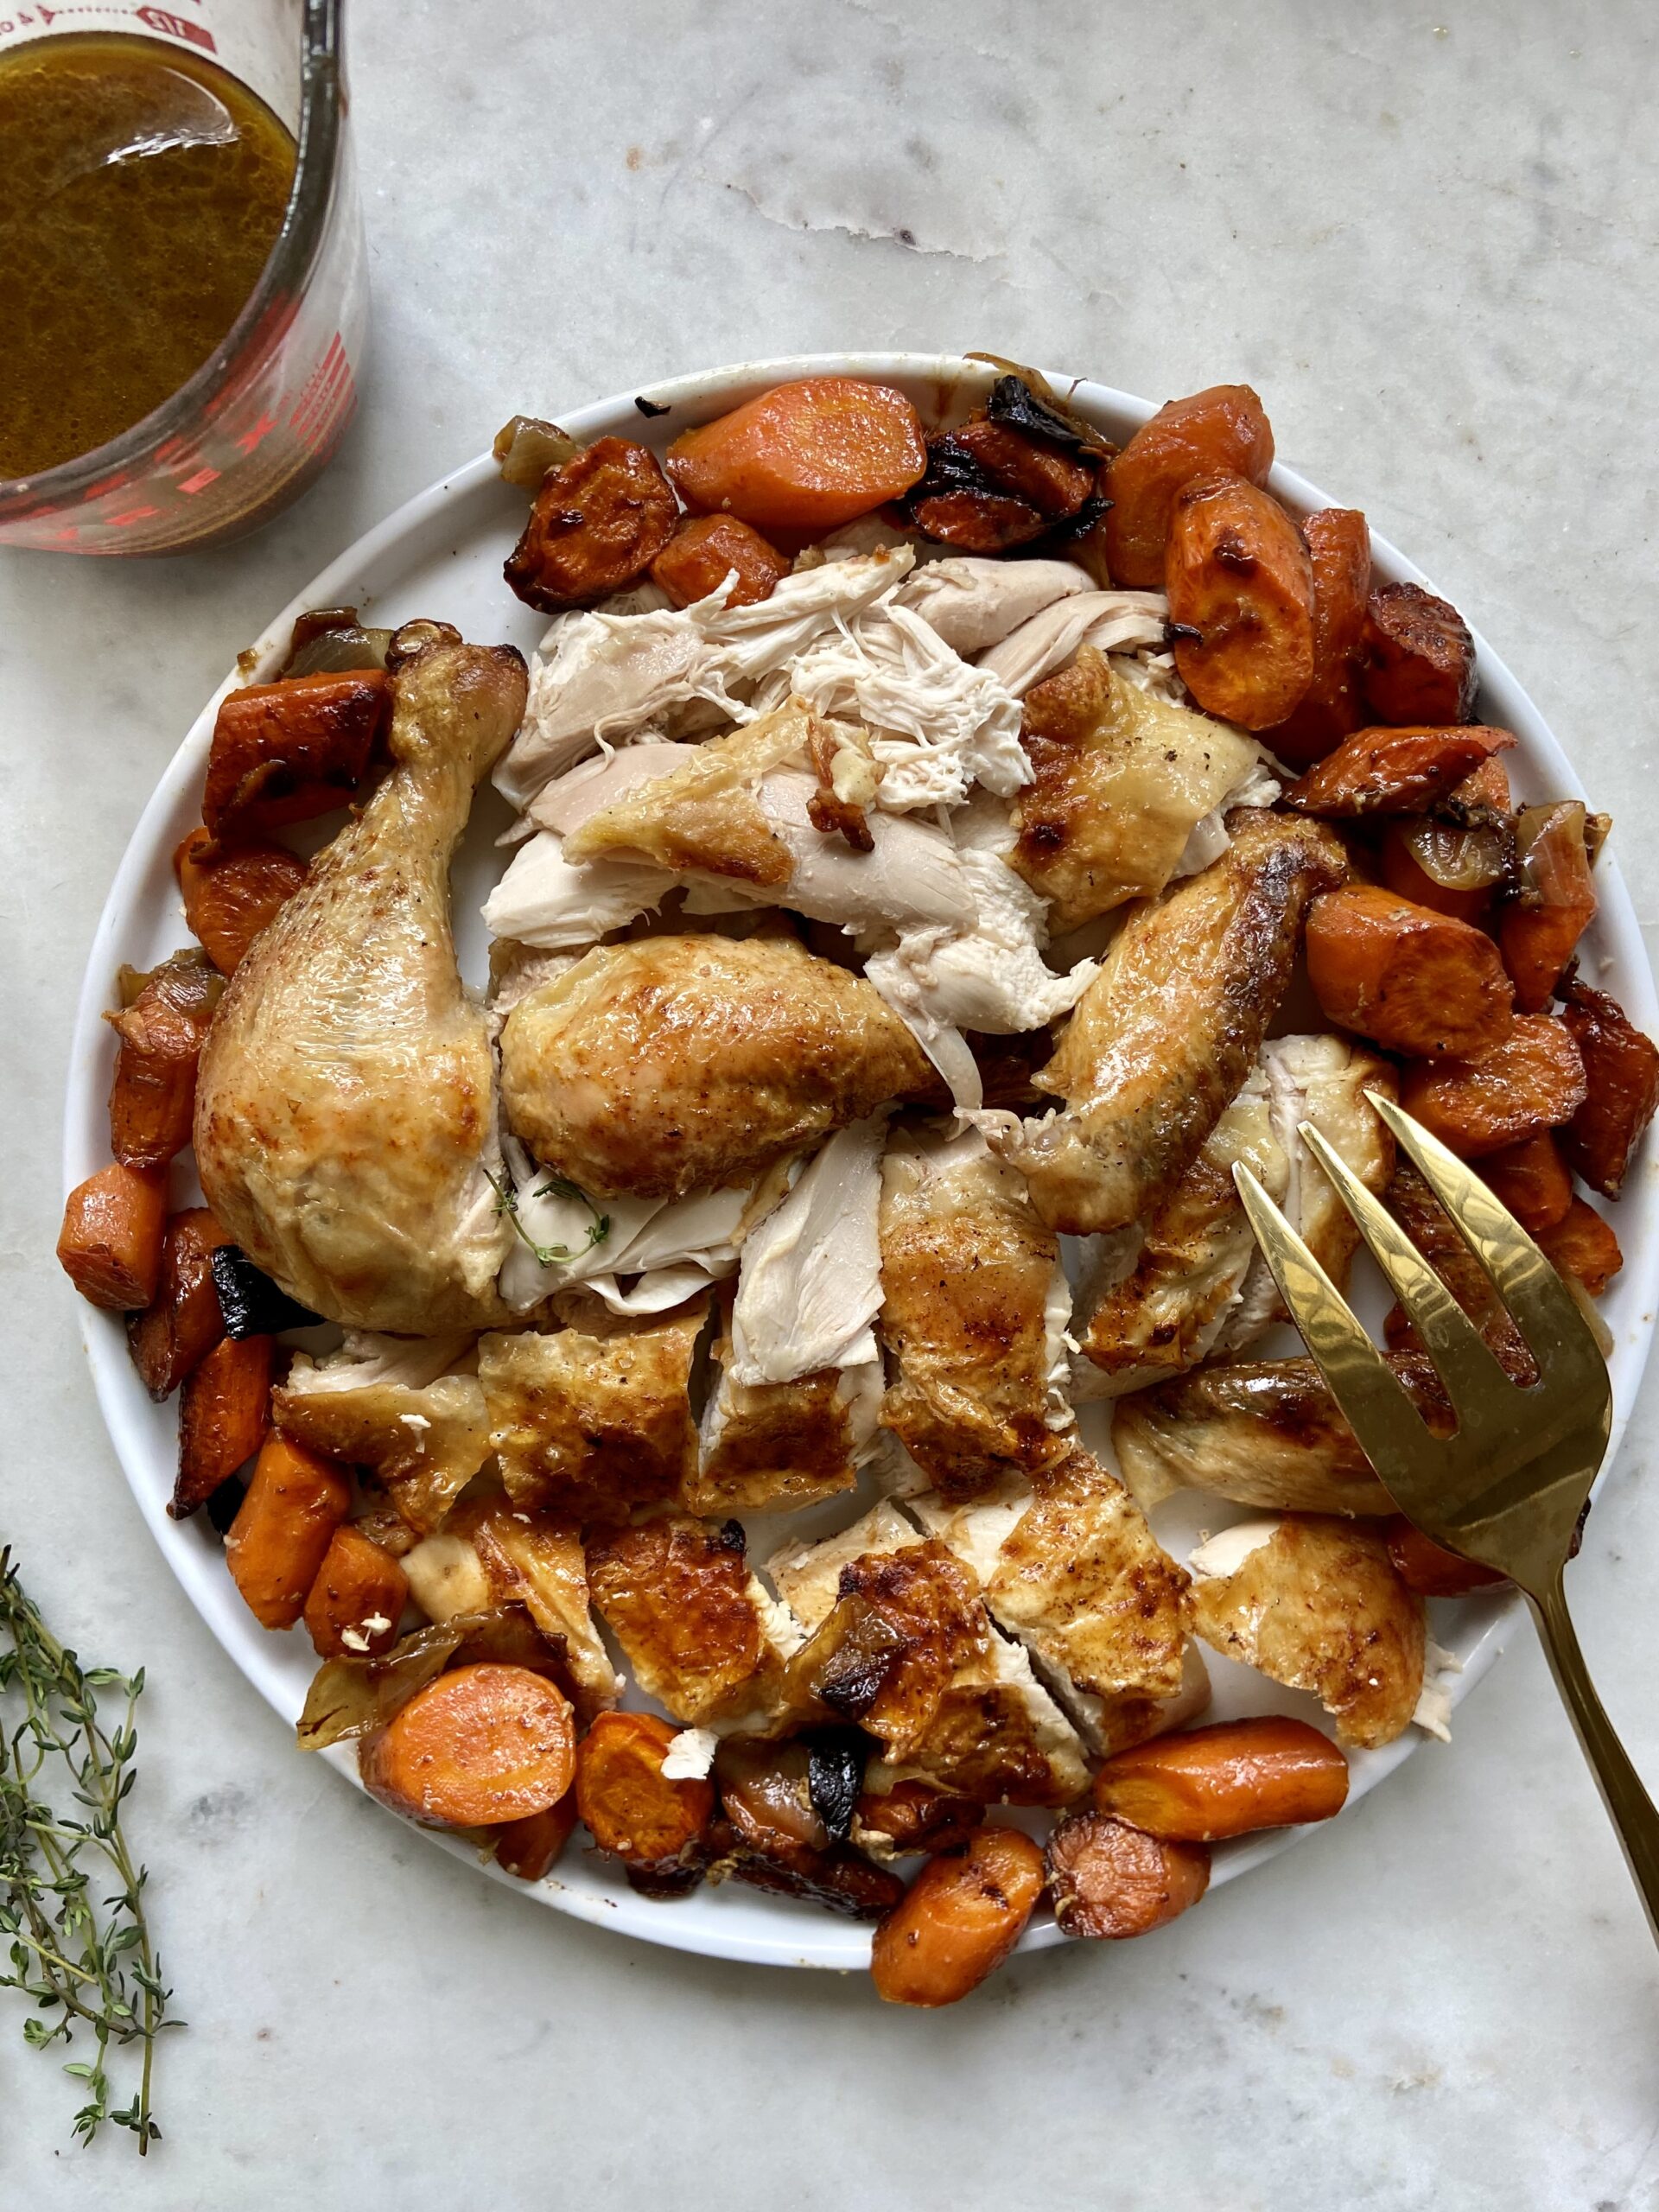
…Let the juices and fat settle (shown above) then skim off as much of the fat from the top as you can. Carve the chicken as best as you can (no one is photographing your dinner!) and serve with the strained schmaltzy carrots and a drizzle of pan juice.

Barley & Arugula Salad
Cook barley according to package directions. Toss with baby arugula and your favorite red- or white-wine based vinaigrette. (I added a little storebought pesto to mine, but you could also just add whatever fresh herb is lying around.) Add shredded Parmesan and toss.
[Photos and Recipe updated 2025]


The barley-arugula salad is inspired. I’m making that tonight.
cheers for the simple recipe you’ve been very helpful!
We stole the baked chicken recipe and we now make it every week. The potatoes and carrots are the best part.
TonyHK – you make it or Delia does???? 🙂
can’t wait to try this roast chicken recipe,I’m going to pass this web site on to family and friends.
Thanks for this amazing recipe! I was so impressed with myself! I posted it on my blog and even inspired my friends to try it!!
Thanks for the recipe. I’ve made this roast chicken twice, now. Not only is it much easier than most others I’ve made, but it comes out incredibly juicy! And the vegetables turn out just right, too. One thing that’s confounding me is that skin. Mine doesn’t come out quite as nicely browned as yours looks in the pic. Other than that… perfection.
Hi Jenny, I’m making this chicken and I have a dumb question: does it go on the veggies breast side up or down? (I’m not much of a cook!)
In the photo you show it in a casserole but in the directions you say a skillet. Which is better?
I am so late to this particular party, but I made this for my husband and almost 3 year old tonight. I roast a lot of chickens and I usually wing it, but this is a new winner around our house. Because we have dairy allergies, I subbed out EVOO for the butter and I made a few other changes:
1. I always start cooking the chicken breast side down and then flip it to finish off cooking it, so the breast will be moist.
2. If I have the time (and I did today) I start the chicken at 250 for a few hours and then move it up to 450 to finish it off once I flip it over.
I cooked the potatoes and carrots in my trusty cast iron skillet, first on the stovetop and then in the already hot oven once the chicken came out. Pre-schooler and husband both loved it. Even the pre-schooler ate the arugula! She’s an adventurous eater to start with, but this is definitely a keeper!